Prerequisites
- A running Home Assistant installation (version 2025.x or newer recommended) with Internet access.
- The Home Assistant Community Store (HACS) on that instance. To install it, see the official HACS guide.
Setup
1. Create an account in the data portal
Create an account in the data portal. You need a username, and a password. An email address is optional.
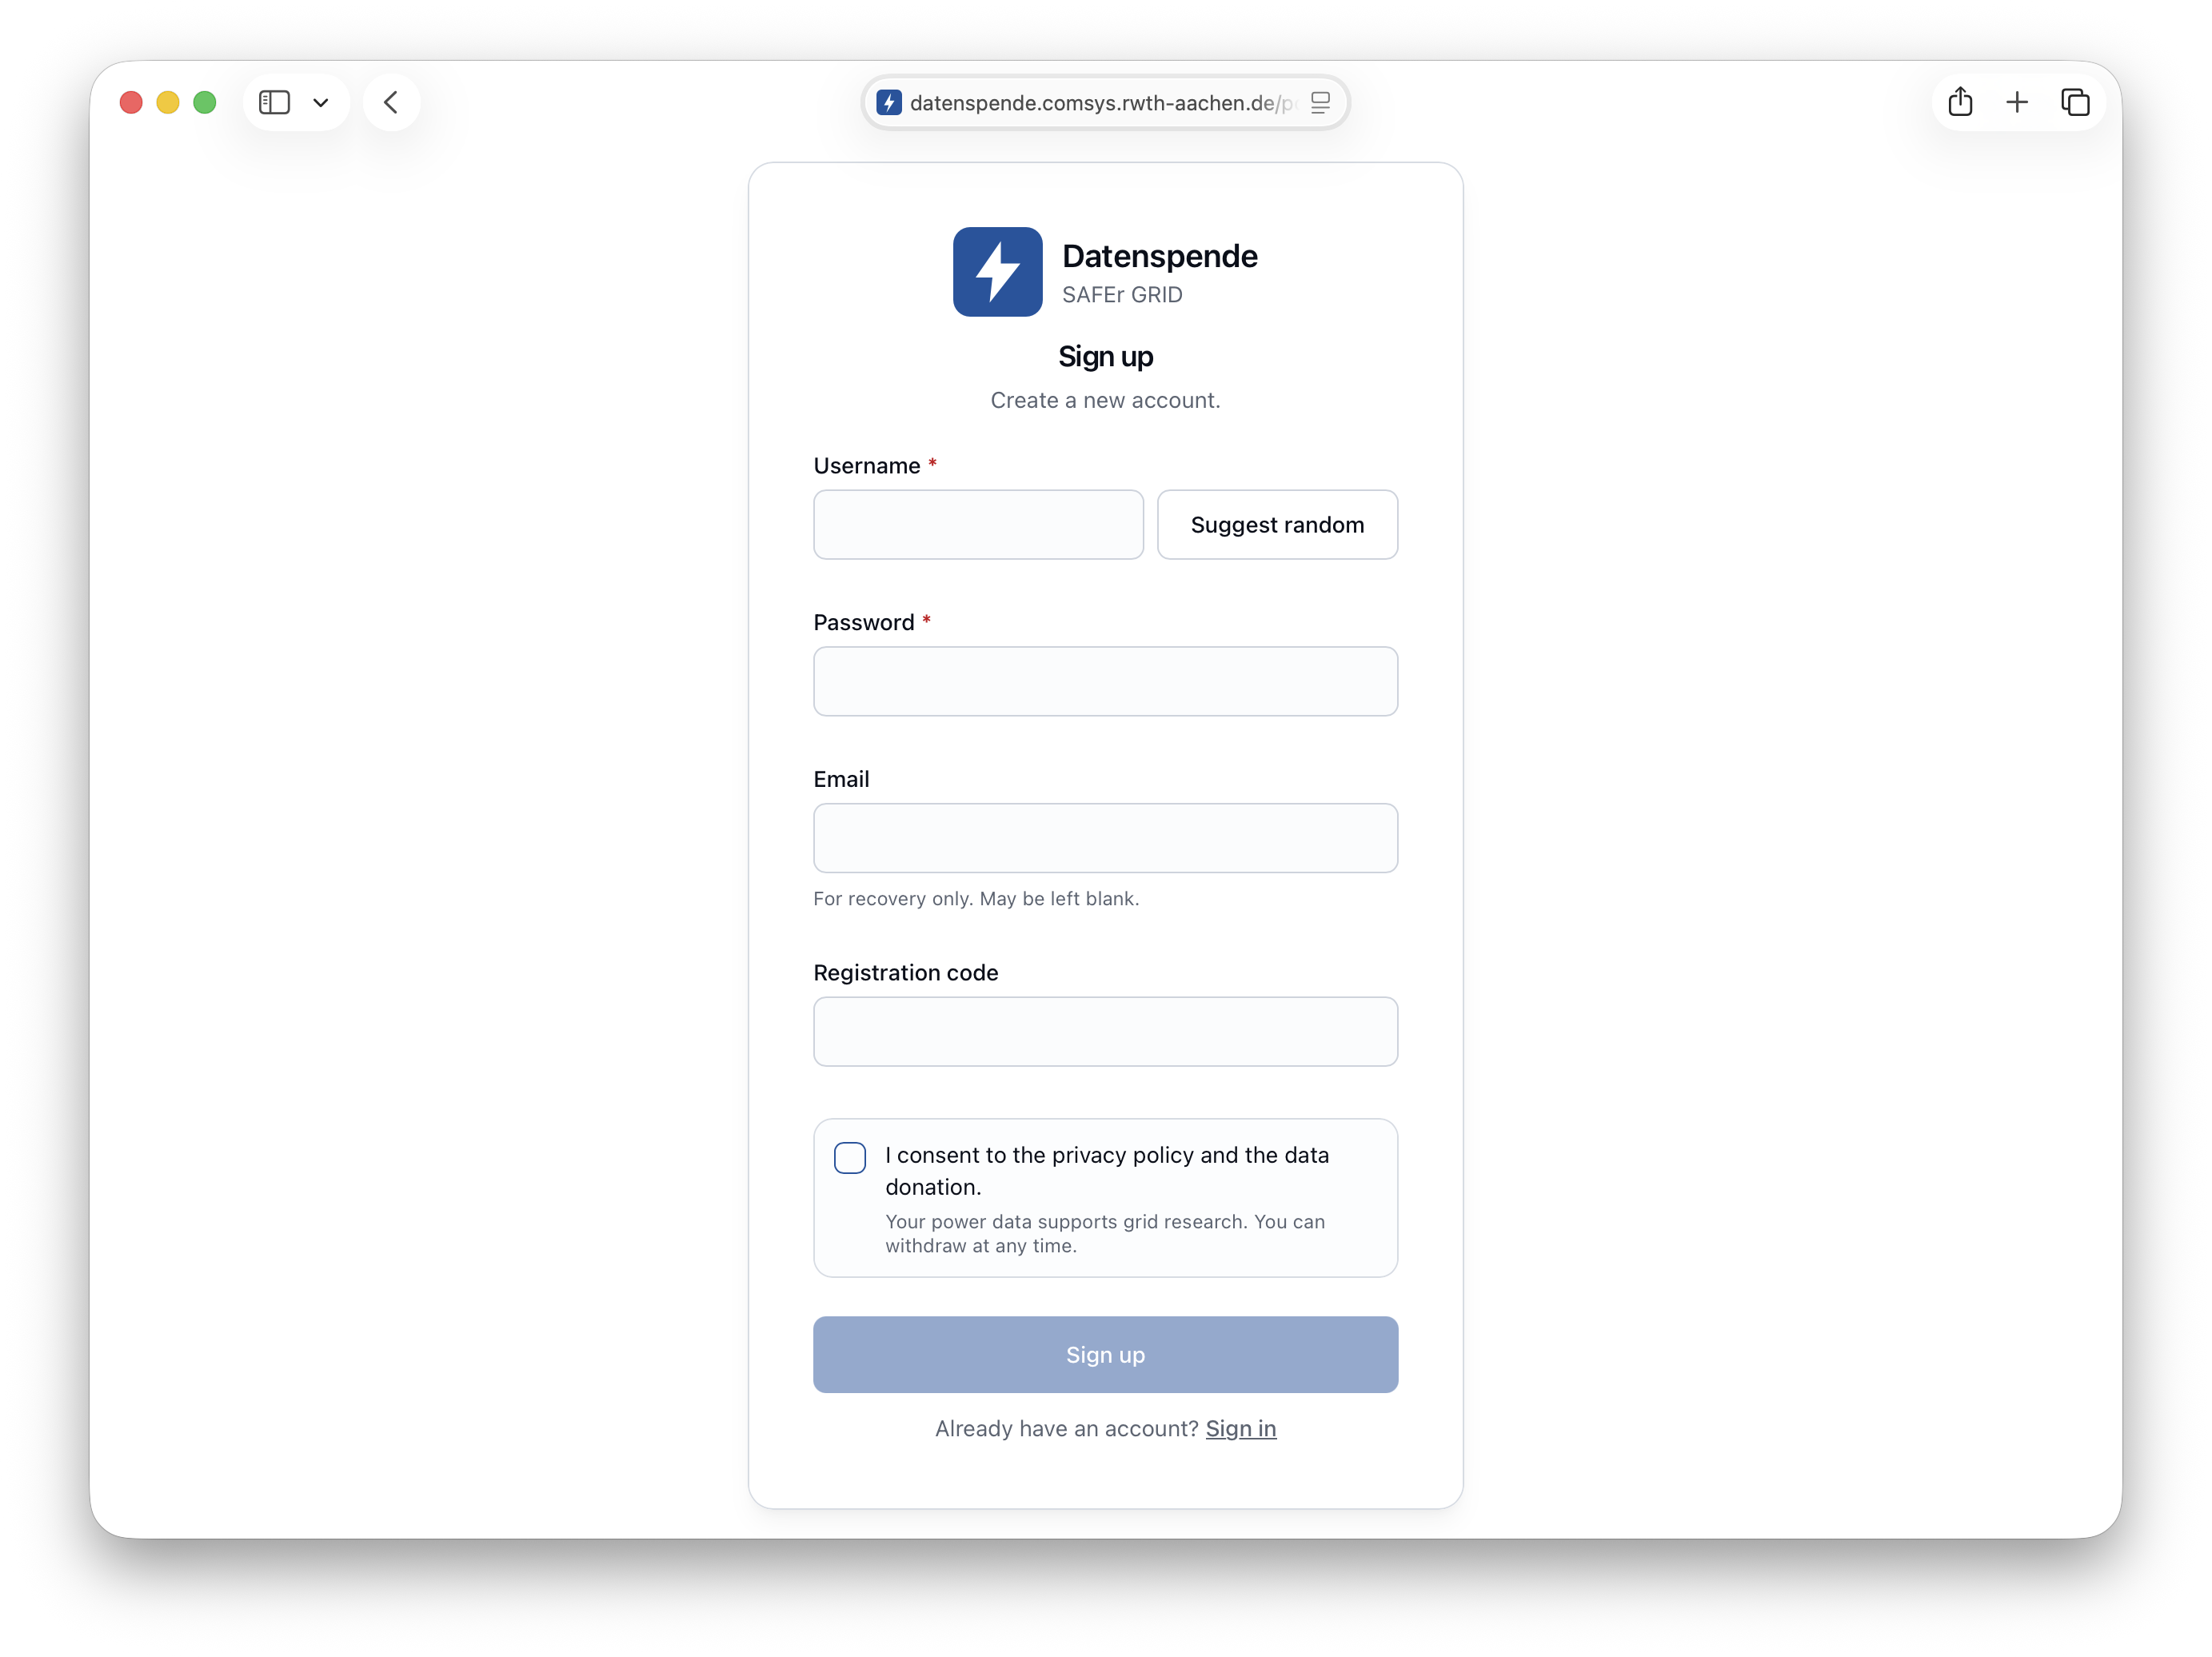
After sign-up a setup guide appears. It stays available on the dashboard.
2. Choose Home Assistant as your integration
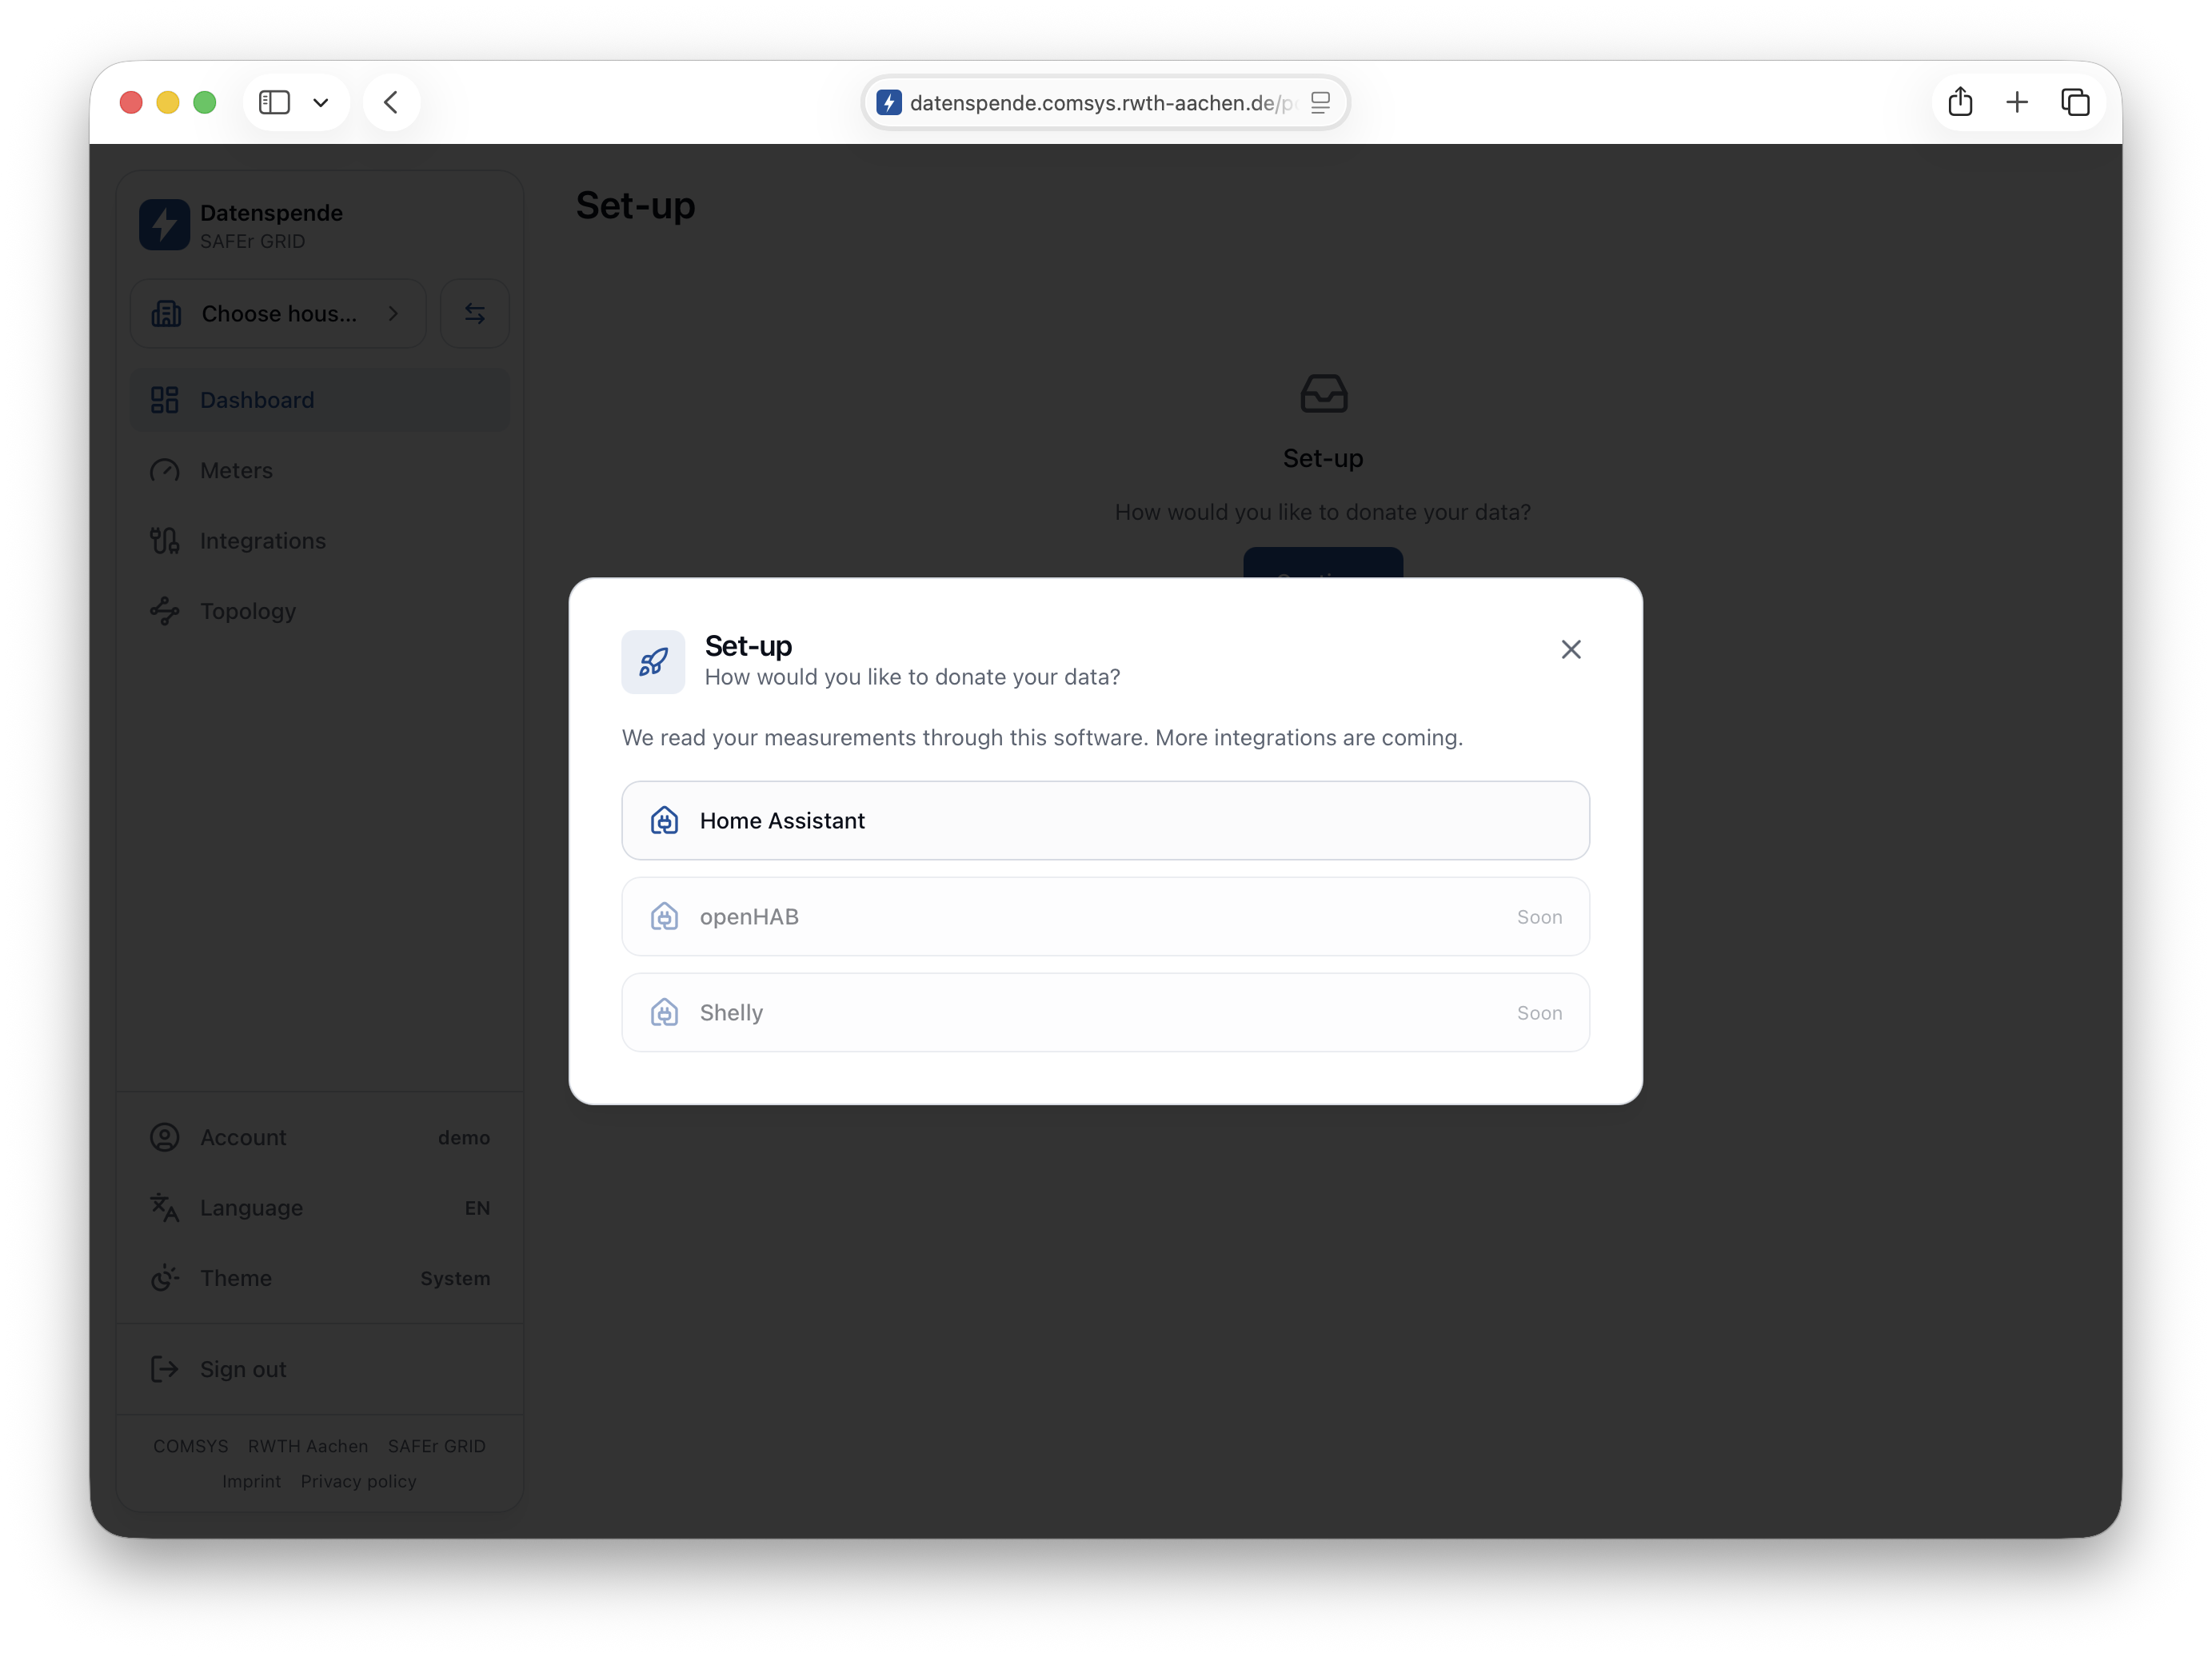
In the setup guide, select Home Assistant. Other systems are listed but not available yet.
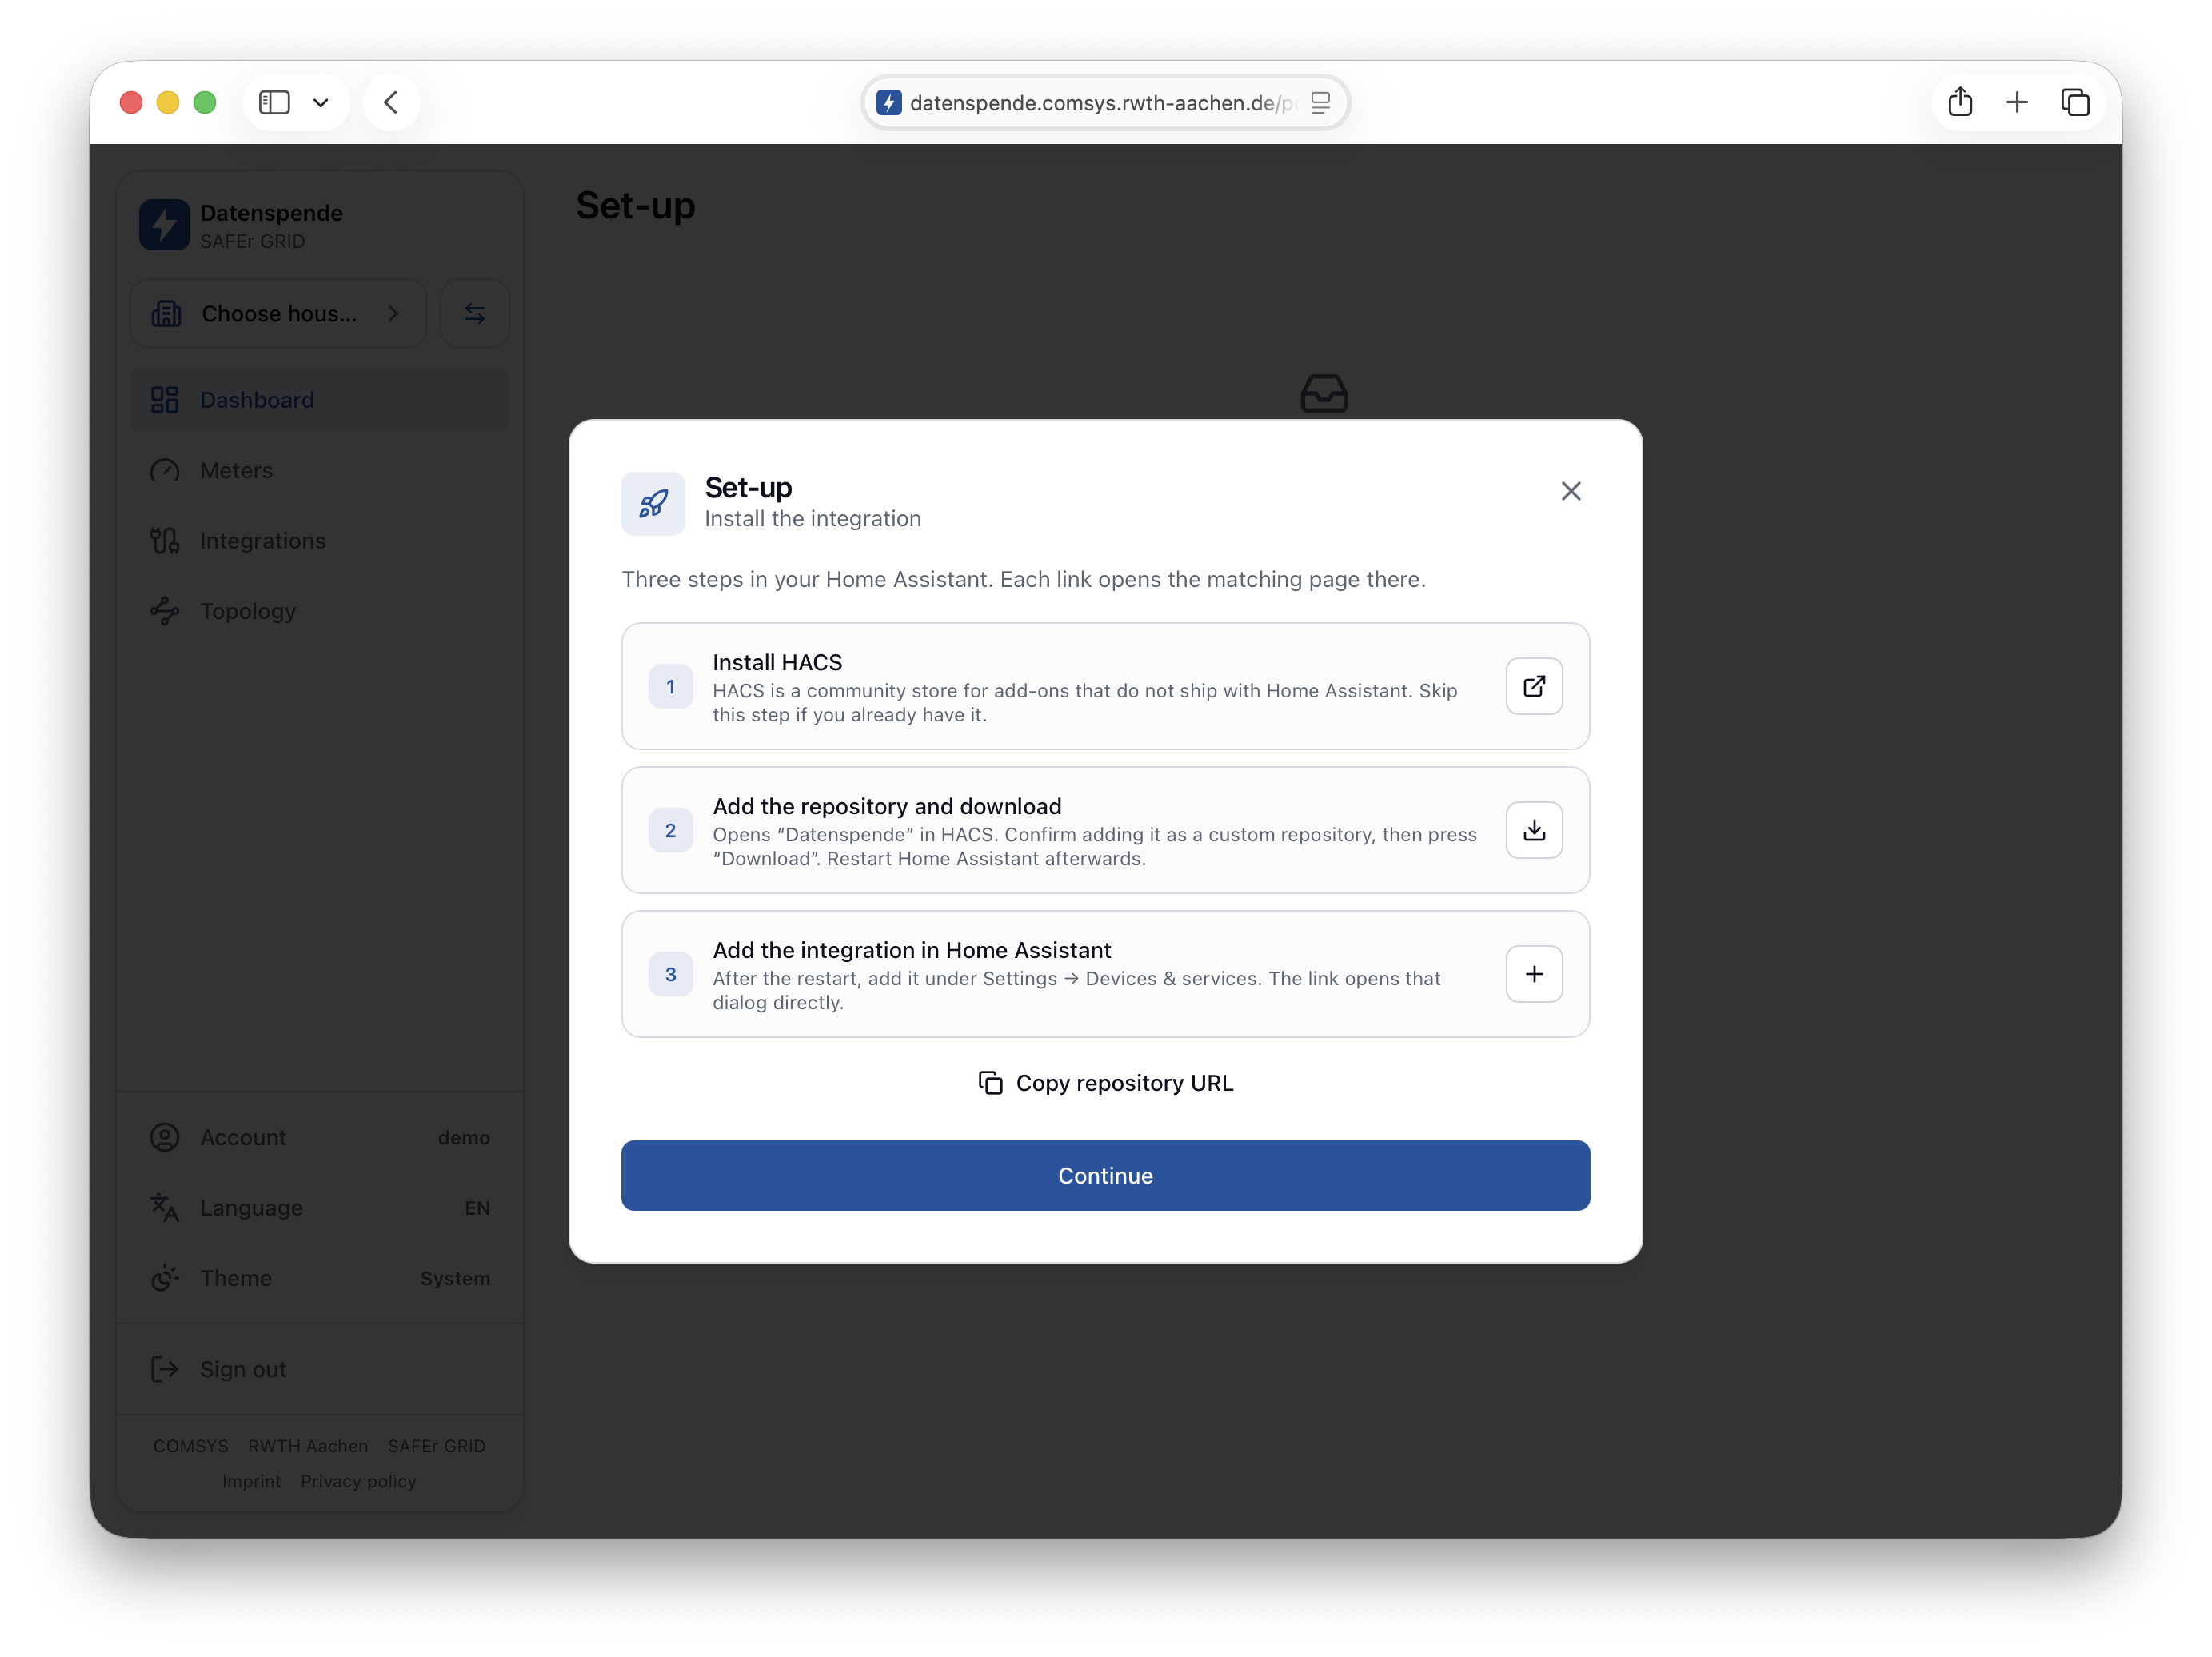
The guide shows three steps, each with a button that opens the matching page in your Home Assistant. The links go through my.home-assistant.io, which redirects to the instance configured in your browser; we never learn its address.
3. Install HACS
Skip this step if HACS is already set up. Otherwise follow the HACS installation guide.
4. Add the repository and download the integration
The Datenspende integration is not part of Home Assistant and is installed through HACS as a custom repository.
The button in the portal opens the Datenspende page inside your HACS. Press Download in the bottom-right corner.
If the button does not work, add the repository manually in HACS under ⋮ → Custom repositories with:
- Repository:
https://github.com/COMSYS/Datenspende - Type / category: Integration
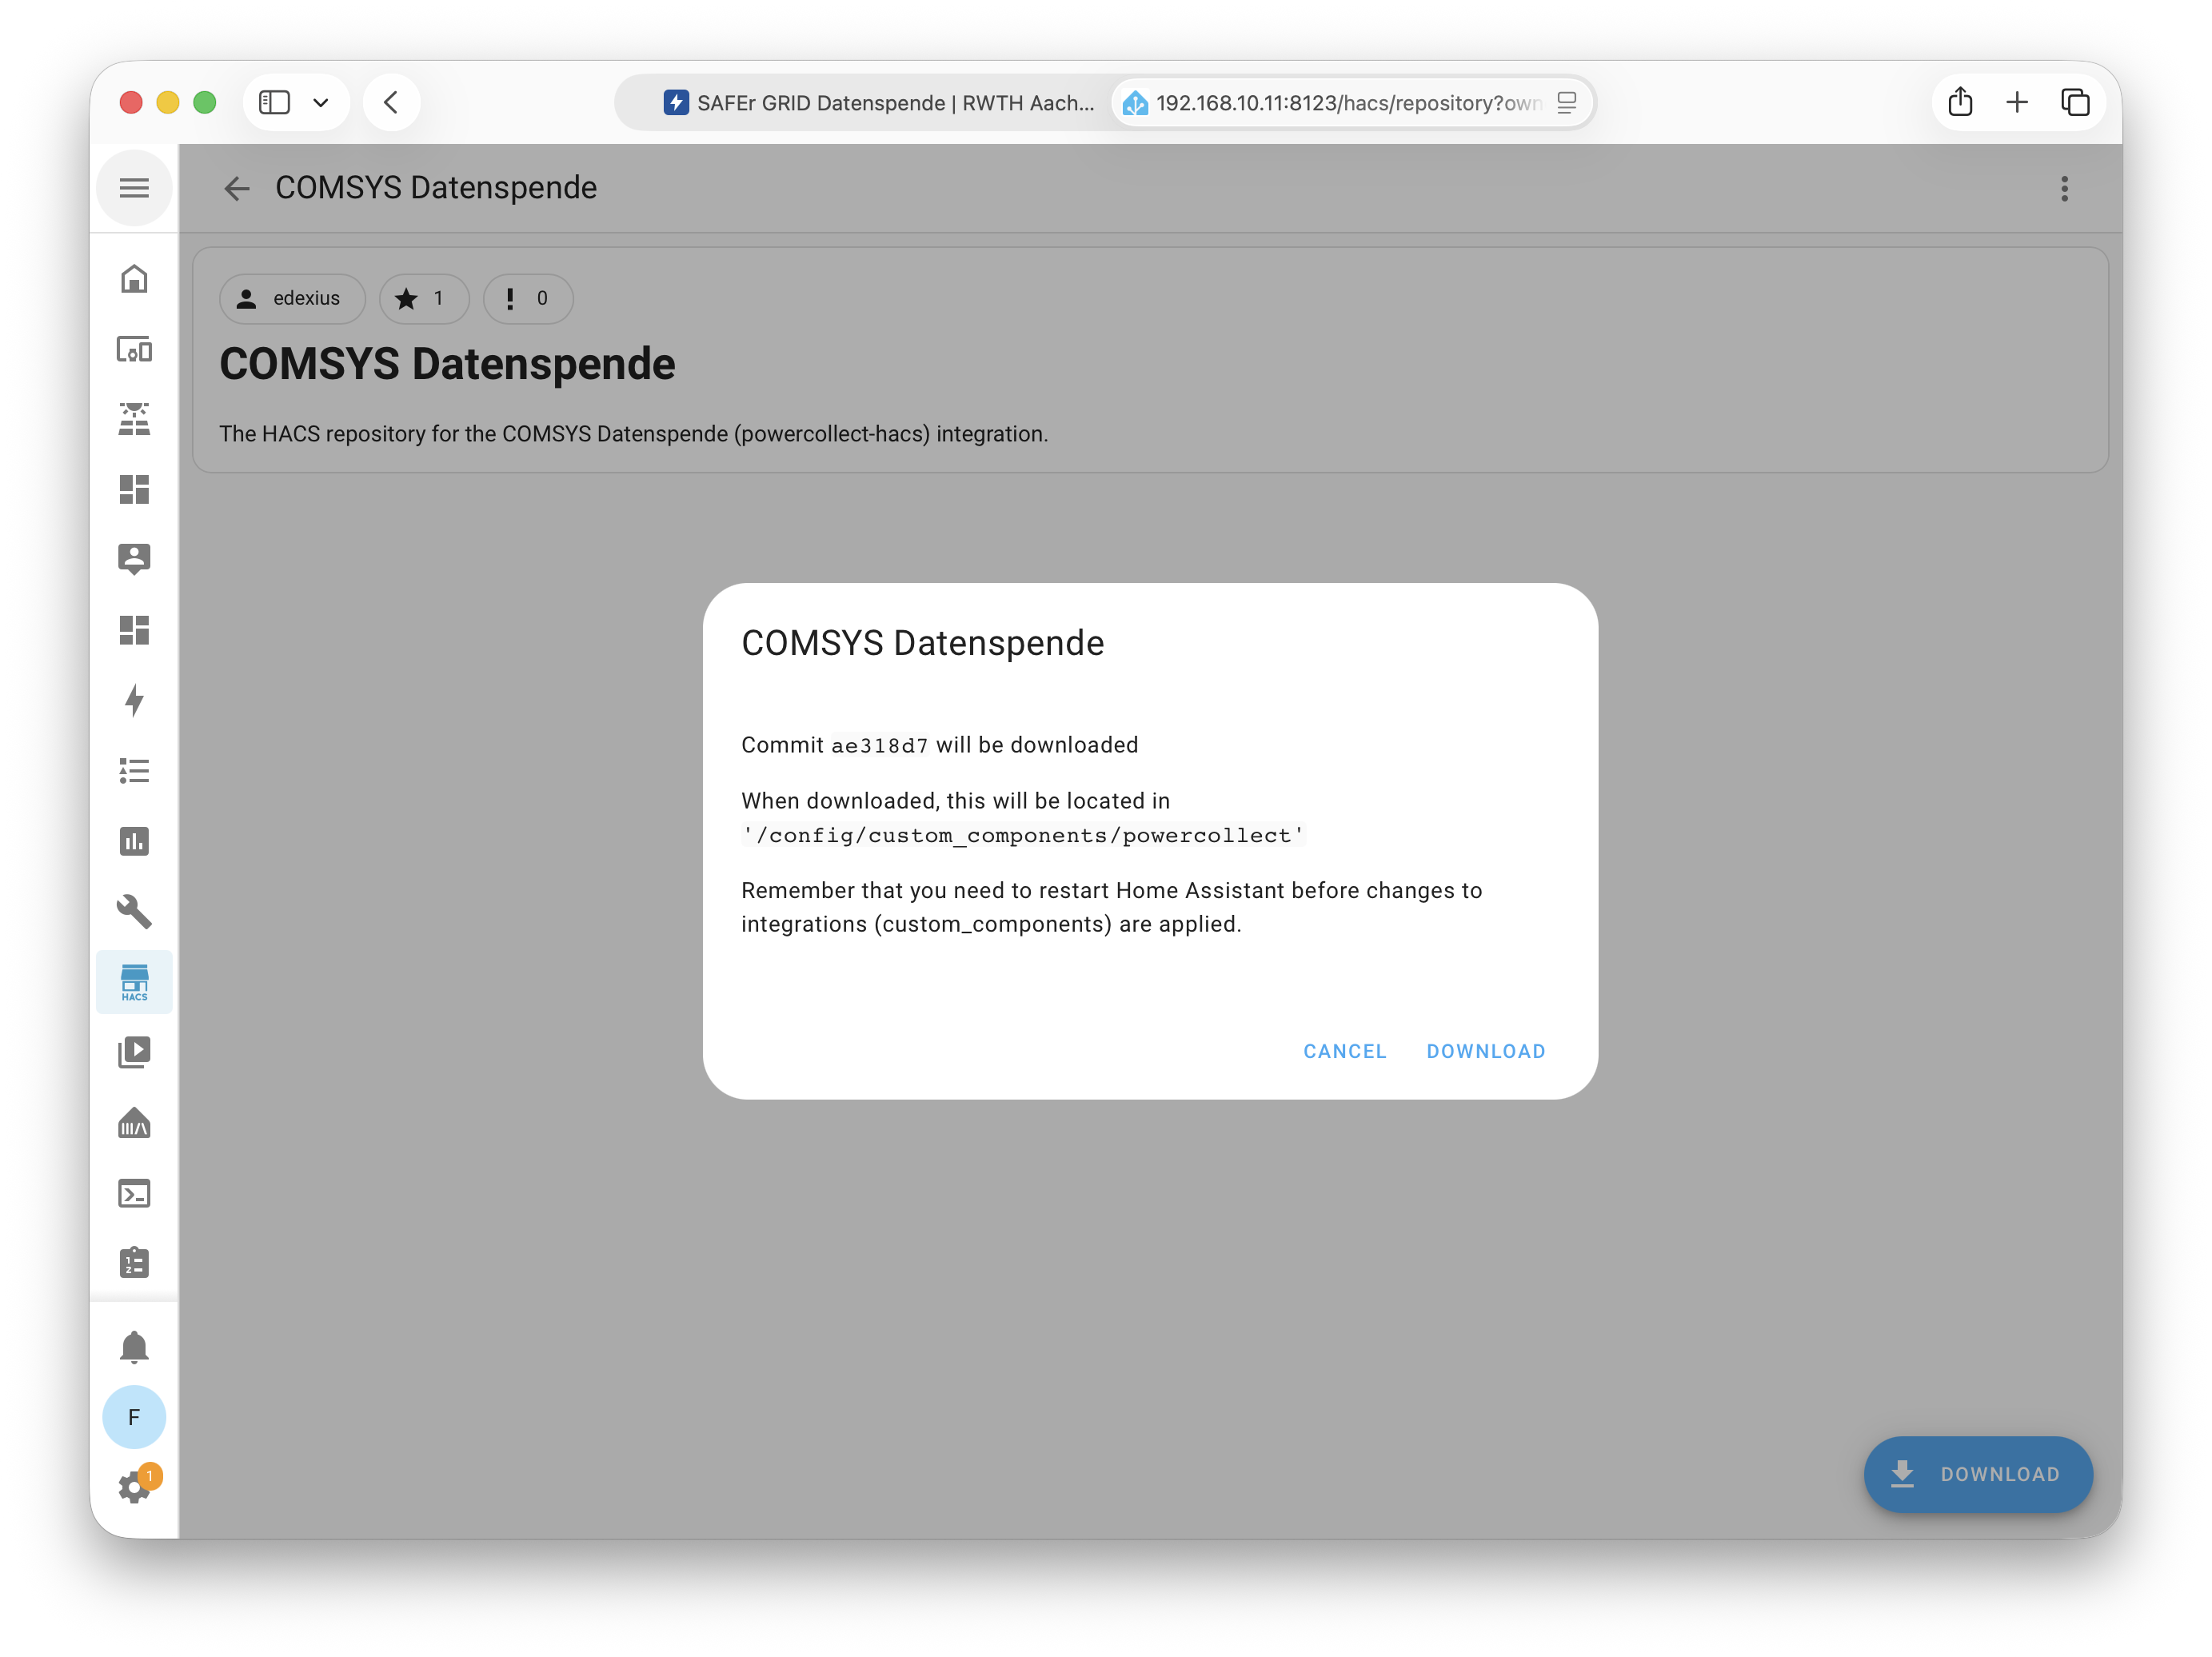
Restart Home Assistant after the download. The integration is only available afterwards.
5. Add the integration in Home Assistant
Add the integration under Settings → Devices & services → Add integration → Datenspende. The button in the portal opens that dialog directly.
6. Sign in inside the integration
The integration asks for the same credentials you use in the data portal. Signing in creates your household and registers the meters you select.
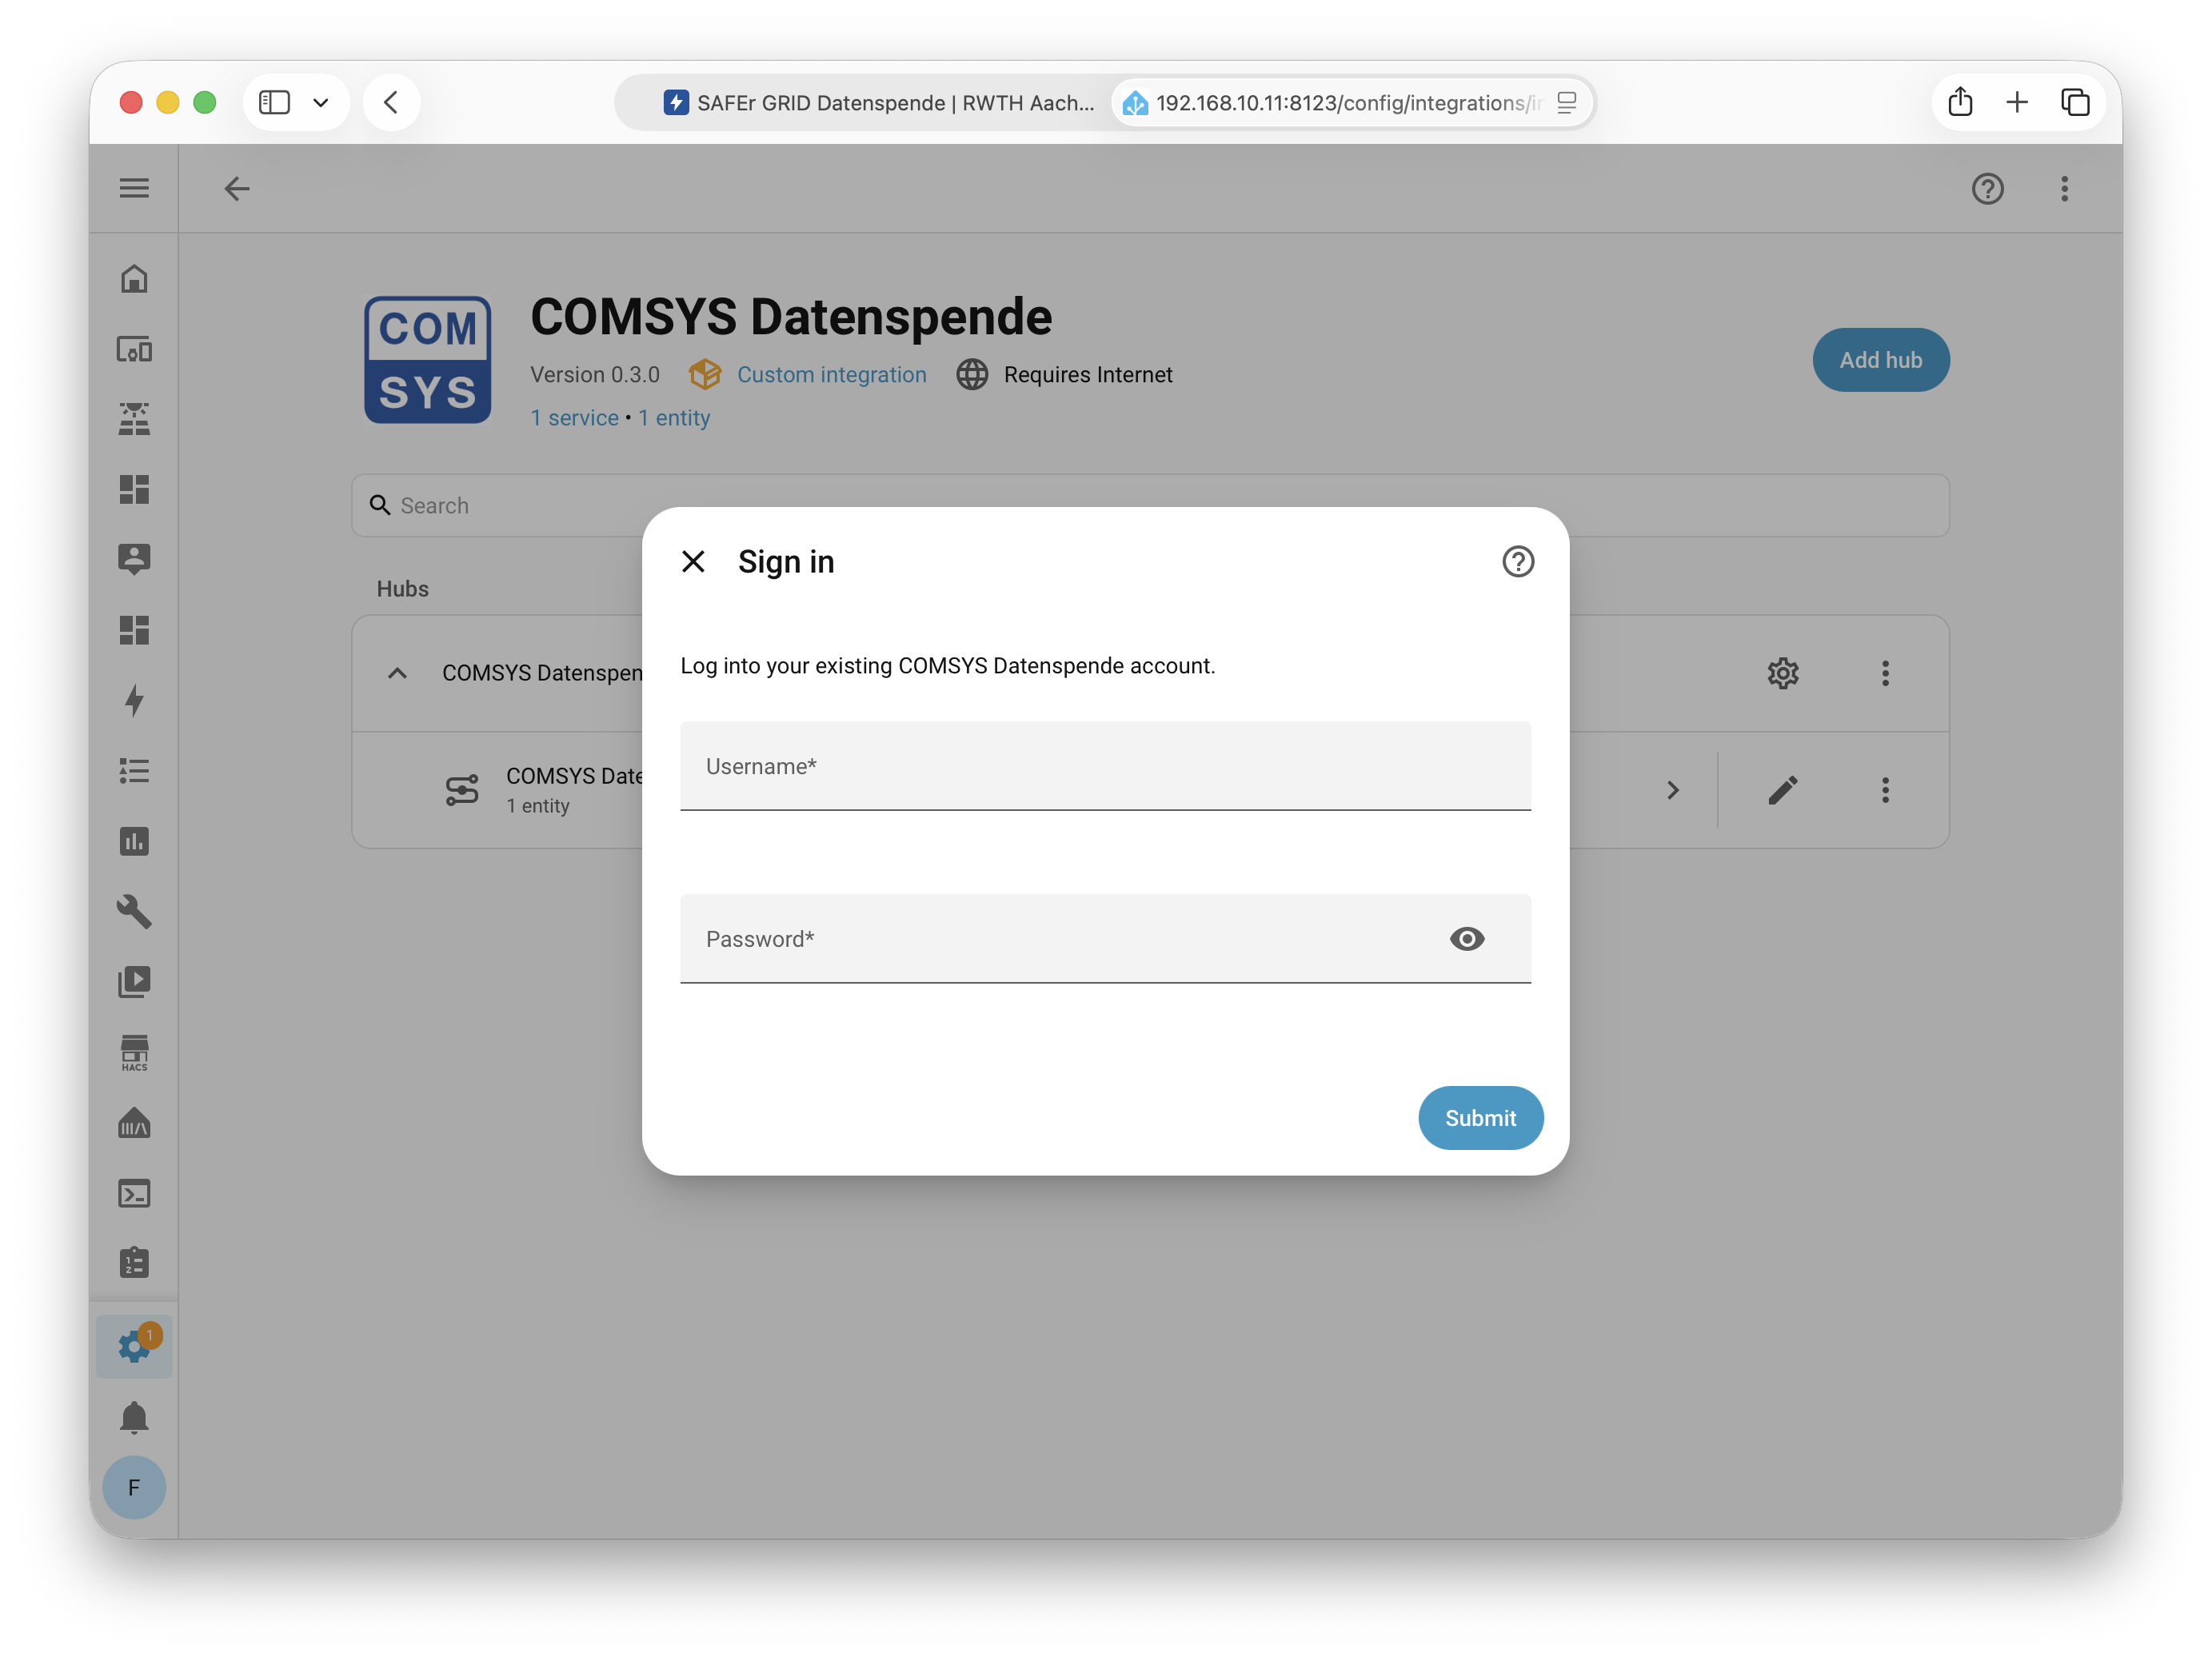
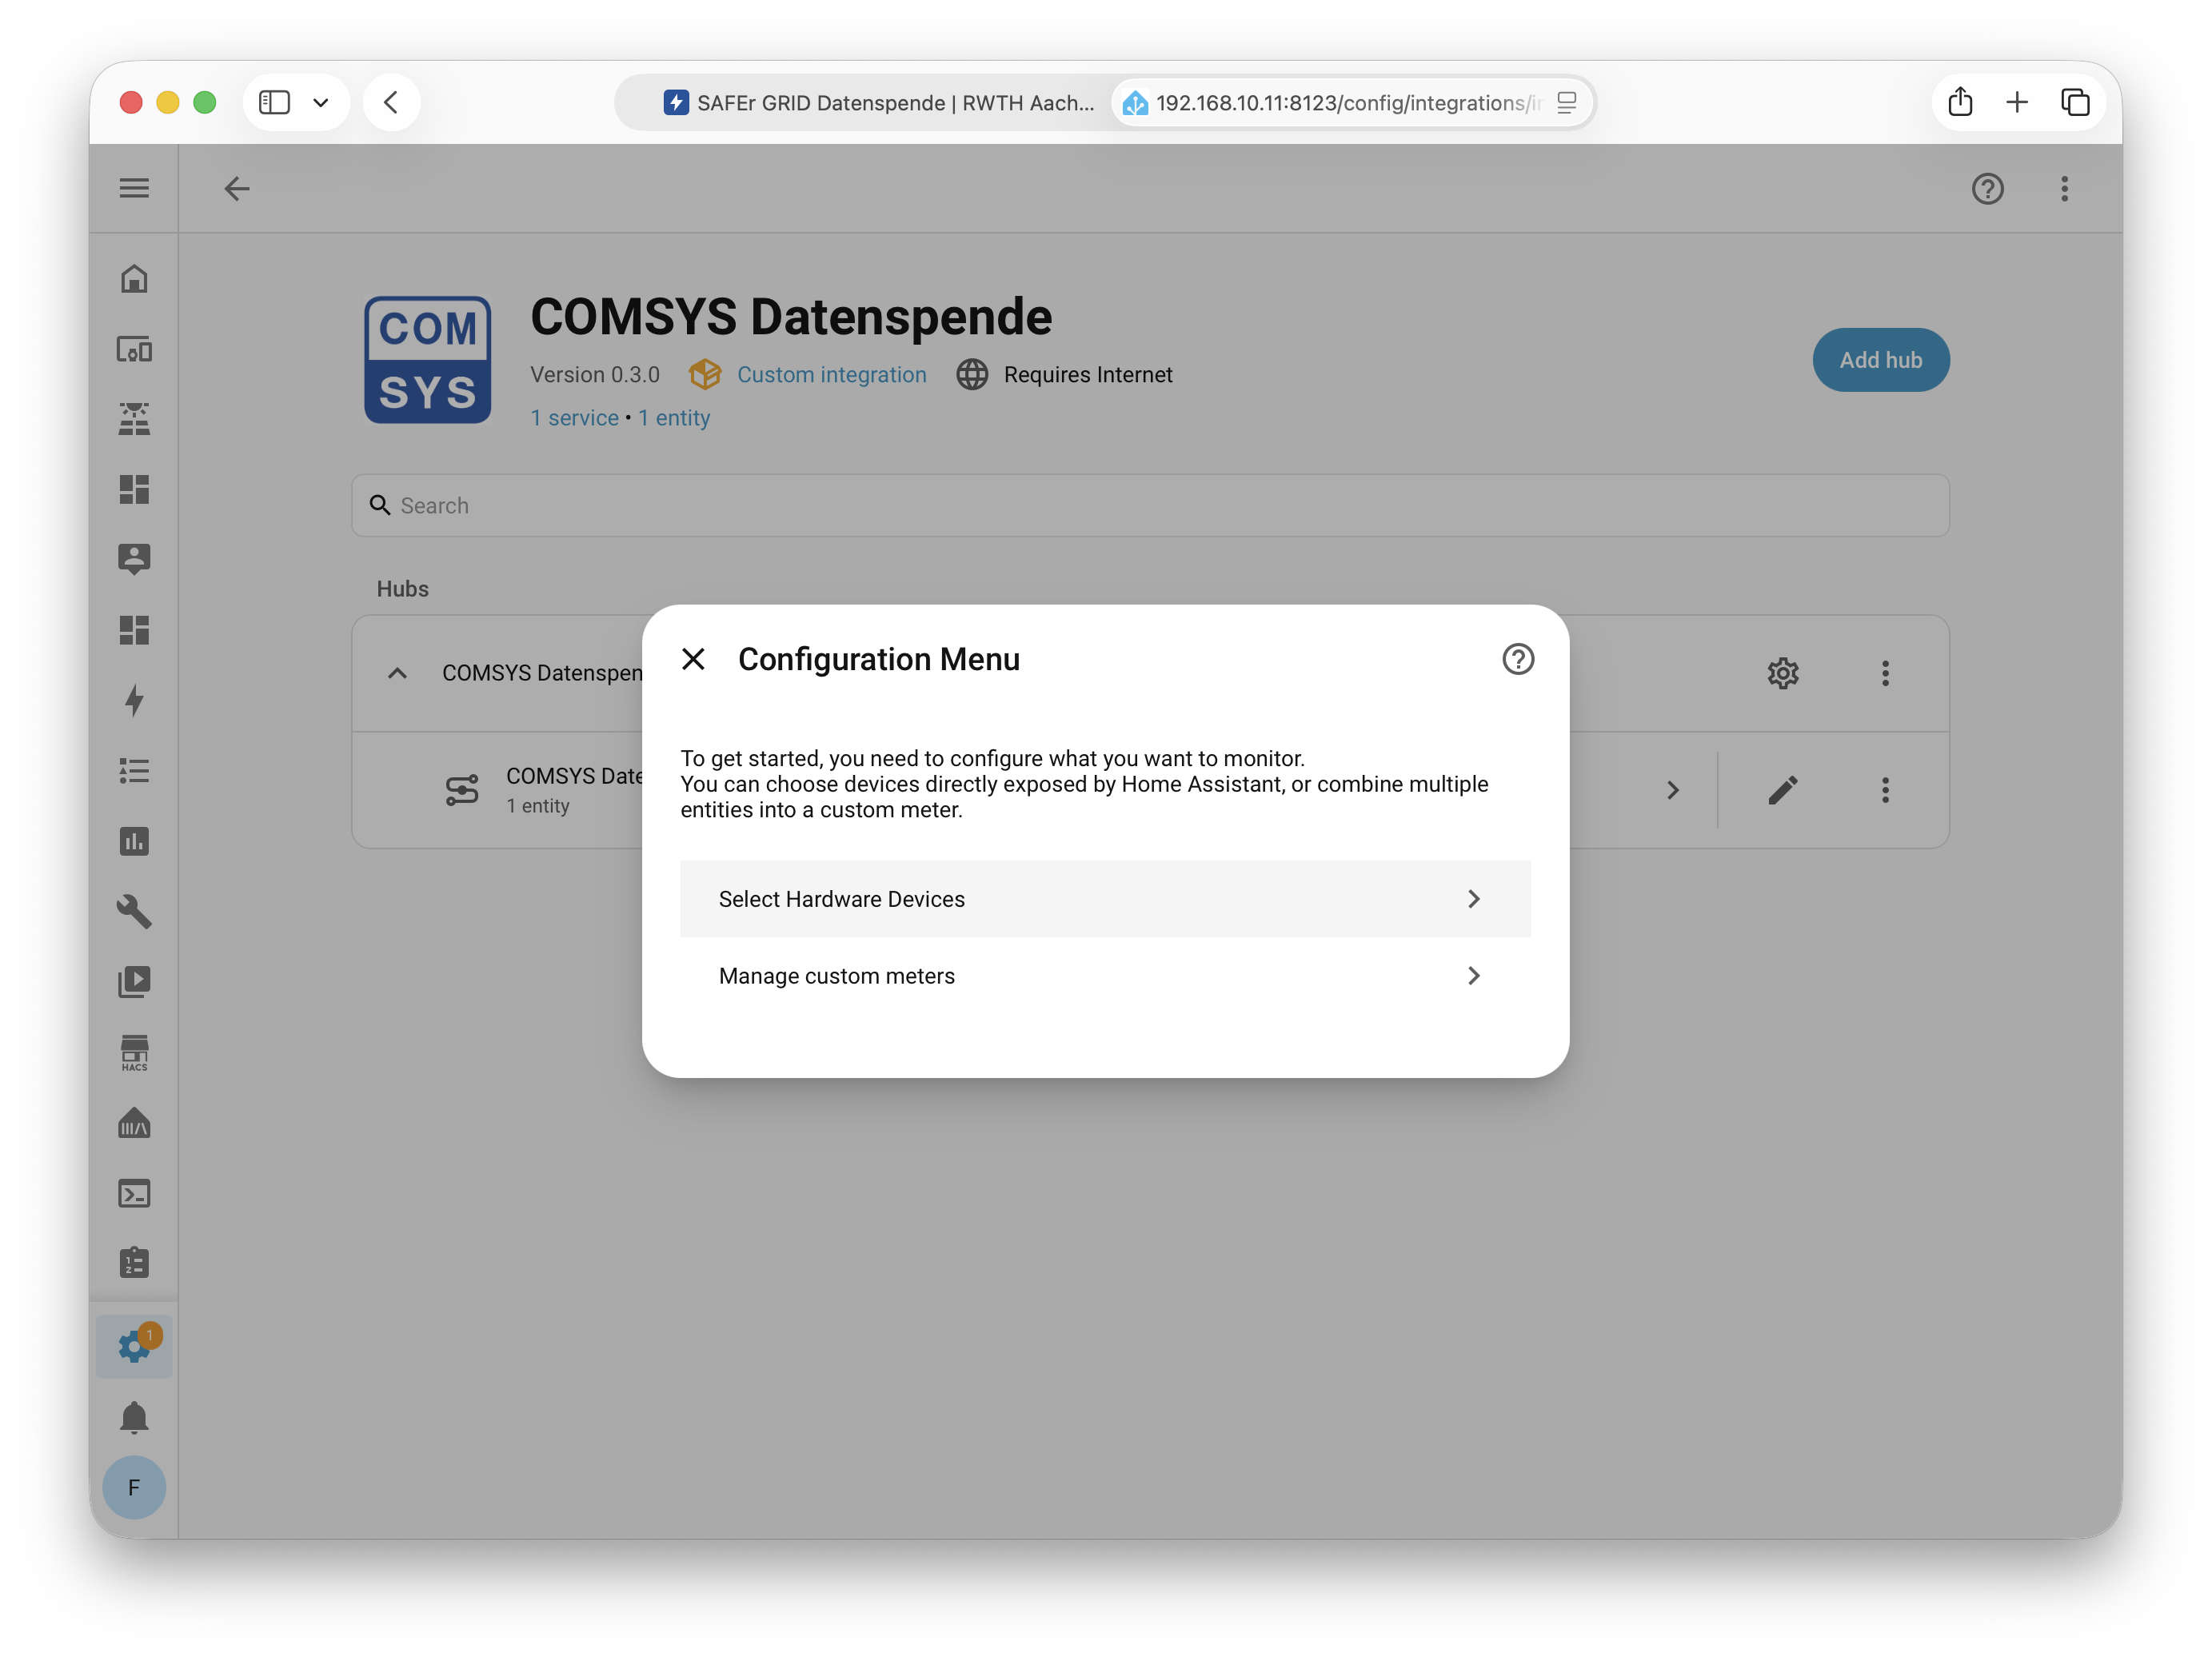
Then choose which of your Home Assistant devices should donate their readings.
The portal notices the new household within a few seconds and closes the setup window.
After the setup
Label your meters. Assign the appliance each meter measures (fridge, washing machine, heat pump, …). Labeled time series are considerably more valuable for research. Unlabeled meters are listed on the dashboard.
Troubleshooting
The portal’s buttons open a strange website. The links use my.home-assistant.io, which forwards you to your own instance. Set your instance address once via My Home Assistant, or open the pages manually in Home Assistant.
“Datenspende” does not appear in the add-integration list. The restart after the HACS download is missing or incomplete. Restart Home Assistant, then reload the page.
The portal keeps waiting for your household. The sign-in inside the integration did not complete. Check the credentials and sign in again.
The integration shows “No data yet” or “Not reporting”. No readings have arrived, or they stopped. The integrations page in the portal shows when data last arrived. Also check that the selected devices still deliver values in Home Assistant.